Put it where people naturally pass
Near cocktail hour, the ballroom entrance, or the dance floor usually works better than a remote hallway. Keep enough distance from speakers, buffet lines, and bar service to avoid conflicts.
 Check my date ↗
A practical planning resource
The best booth placement feels obvious to guests, invisible to service traffic, and easy for your venue team to support.
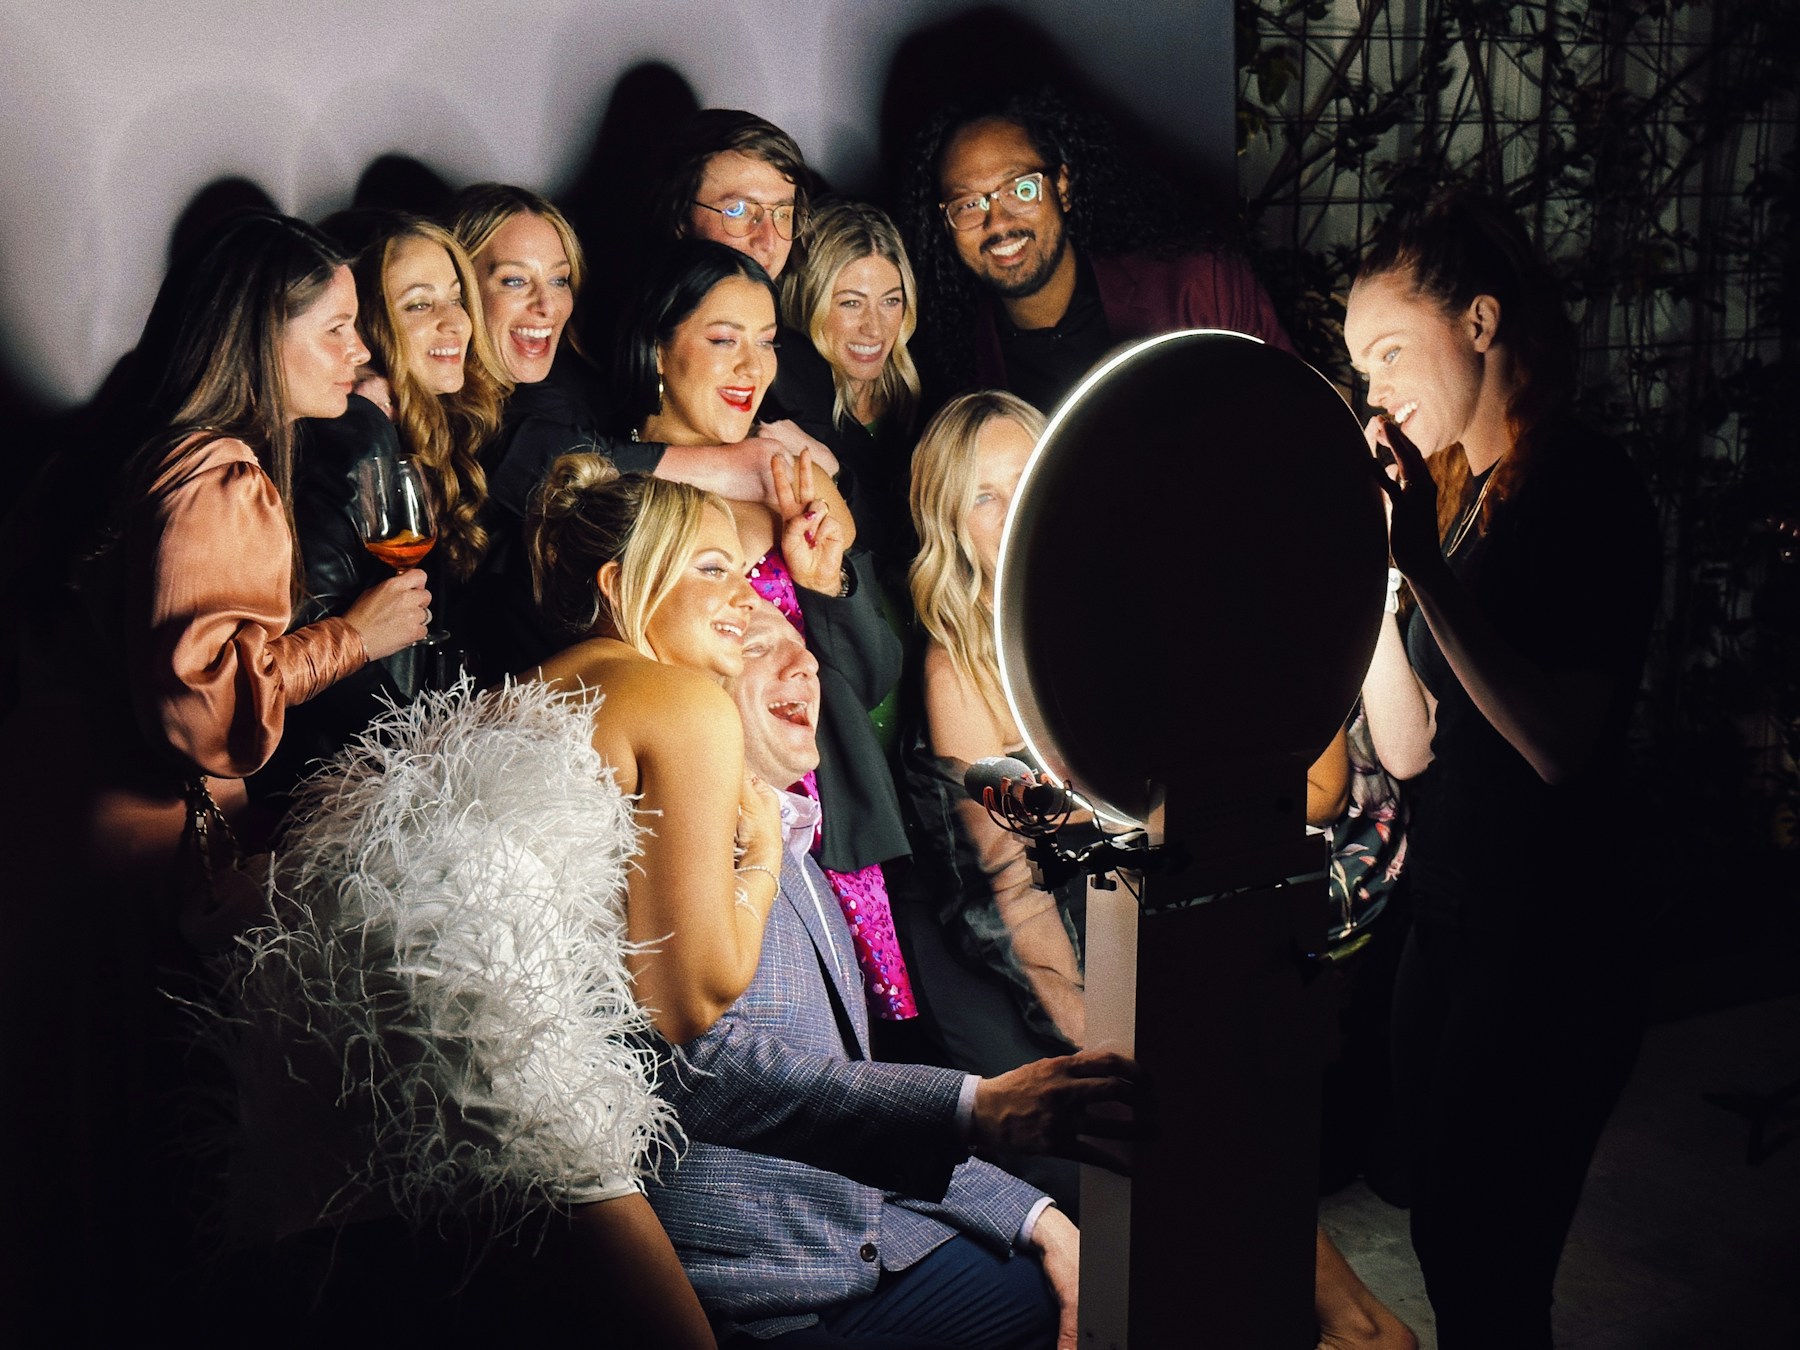
Start with the footprint
Power, internet, light, weather, queue direction, and load-in access all affect how smoothly an experience runs. Use this guide before the floor plan and vendor timeline are locked.
Near cocktail hour, the ballroom entrance, or the dance floor usually works better than a remote hallway. Keep enough distance from speakers, buffet lines, and bar service to avoid conflicts.
Plan a clear waiting direction that does not block doors, emergency paths, servers, photo coverage, or the couple’s entrance.
A nearby dedicated outlet is ideal. Do not assume decorative lighting circuits, outdoor extensions, or shared catering power can safely support the booth.
Instant sharing needs reliable connectivity. Large conferences and concrete venues may require dedicated event Wi-Fi or an approved wired option.
Outdoor setups need level ground, overhead protection, wind planning, temperature consideration, and an indoor backup if weather changes.
Freight elevators, parking, stairs, security, union requirements, and long pushes from loading areas should appear in the vendor schedule—not become a surprise.
Four-week checklist
Approve print design, AI concepts, overlays, backdrop direction, and guest delivery method.
Confirm floor plan, footprint, nearby power, Wi-Fi, load-in instructions, parking, and venue contact.
Lock the service timeline, announcements, dress code, final guest estimate, and any brand asset changes.
Provide access on schedule, keep the setup zone clear, and let the Light Forge team handle the rest.
Planning a particular venue?
Share your date, venue, guest count, and preferred experience. We will help identify the footprint and placement questions to resolve before you commit.
No-pressure planning.
Just honest guidance toward the experience that fits.